Ansible Control Machine on Windows

The post describes how to easily run Ansible on Windows without docker, VirtualBox or Hyper-V. The approach utilizes Linux through Windows Subsystem for Linux (WSL) available in Windows 10.
What we are trying to achieve:
- A full-featured Ansible available under Windows without any headaches.
- Instant access to Ansible without the need to start and wait for a dedicated virtual machine.
- Ansible should have the same access to the network.
- A possibility to work with files stored on HDD drive, having convenient access to them by both, Ansible and any installed Windows software, at the same time.
Basically, most of the listed requirements are already covered by WSL, except for some nuances. All we need is to properly install and configure everything. Let's go step-by-step.
Enabling WSL and installing Linux
Open the Powershell under Administrator rights and run the following command:
Enable-WindowsOptionalFeature -Online -FeatureName Microsoft-Windows-Subsystem-LinuxRestart the PC to enable the WSL.
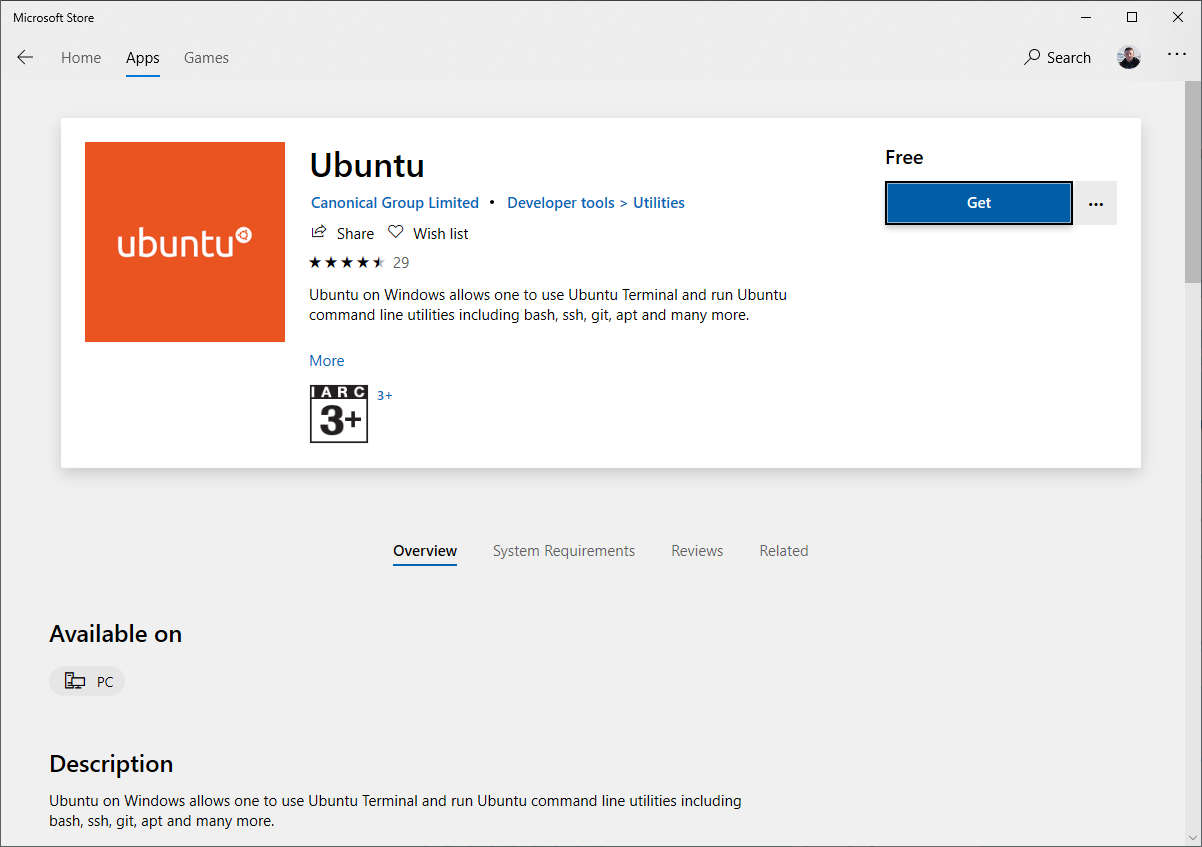
The next step is to install a Linux distribution. Several of them are available in the Microsoft Store. For this post we use Ubuntu, so get it.
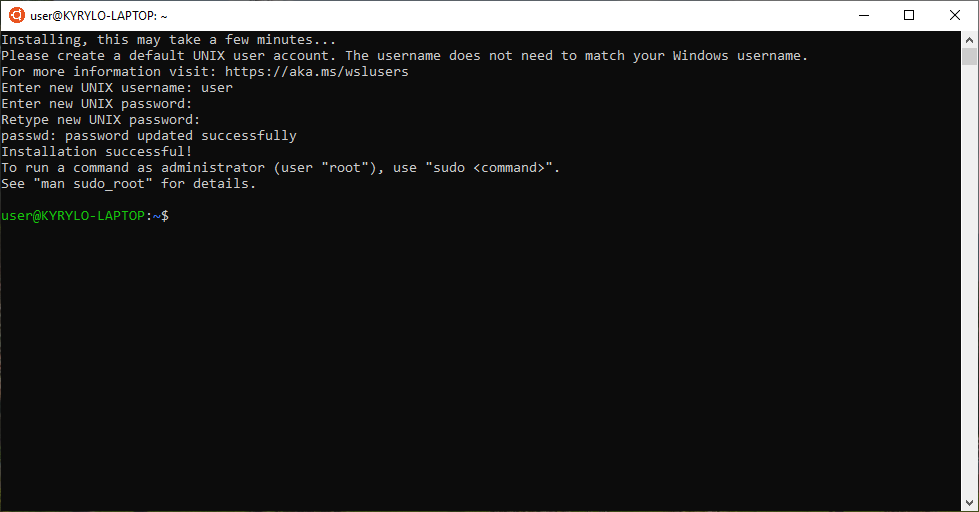
After installation is complete launch the Ubuntu from the Start Menu, wait until it is ready, and set the default user/password.
Configuring WSL
By default, WSL mounts Windows disks in Linux in /mnt/. For example, C:\ can be accessed through /mnt/c.
In order to be able to work with mounted files like you would do it normally in Linux, including changing permissions and attributes, we need to enable additional metadata provided by DrvFs plugin. Otherwise, any changes to file attributes don't persist: they are overwritten by Windows, for example, when a file is modified outside the Linux.
Also, by default, all mounted Windows files have 0777 permissions. The included x (executable) flag causes errors in Ansible and Vault like:
([Errno 8] Exec format error). If this is not a script, remove the executable bit from the file.ERROR: The file [my_inventory] is marked as executable, but failed to execute correctly. If this is not supposed to be an executable script, correct this with `chmod -x [my_inventory]`Setting permissions on files explicitly using chmod does nothing until DrvFs is enabled, and anyway, they don't persist between sessions.
The solution to the issues described above is to create a WSL configuration file /etc/wsl.conf:
sudo nano /etc/wsl.confType in the following content:
[automount]
enabled = true
options = "metadata,umask=22,fmask=111"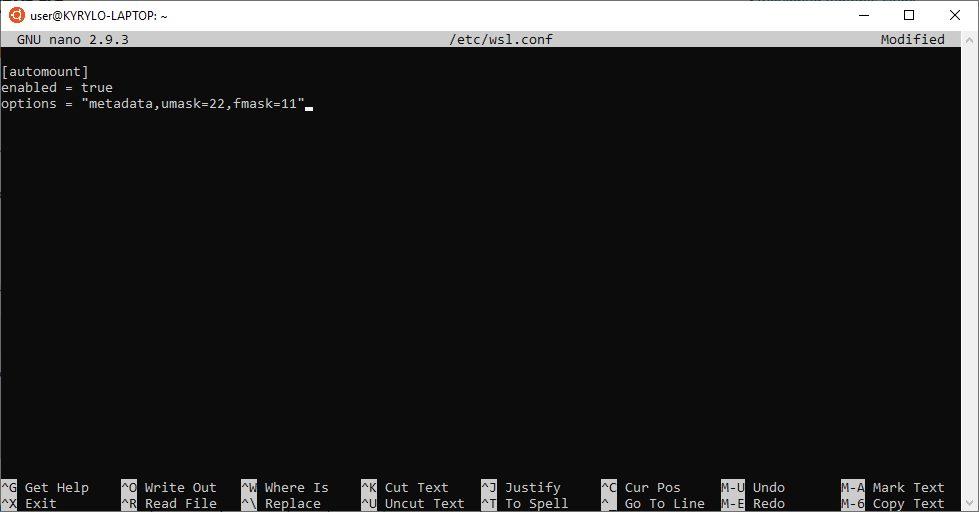
Save the file (Ctrl+X, y, Enter) and re-open the Ubuntu console.
In the configuration file we set the following options:
umask- the mask of permissions to exclude for all files and directories.fmask- the mask of permissions to exclude for all regular files.
Optionally, it is possible to specify a mask for directories specifically using the dmask option.
Verify that DrvFs is configured:
mount -lThe /mnt/c should have the options set in the configuration file:
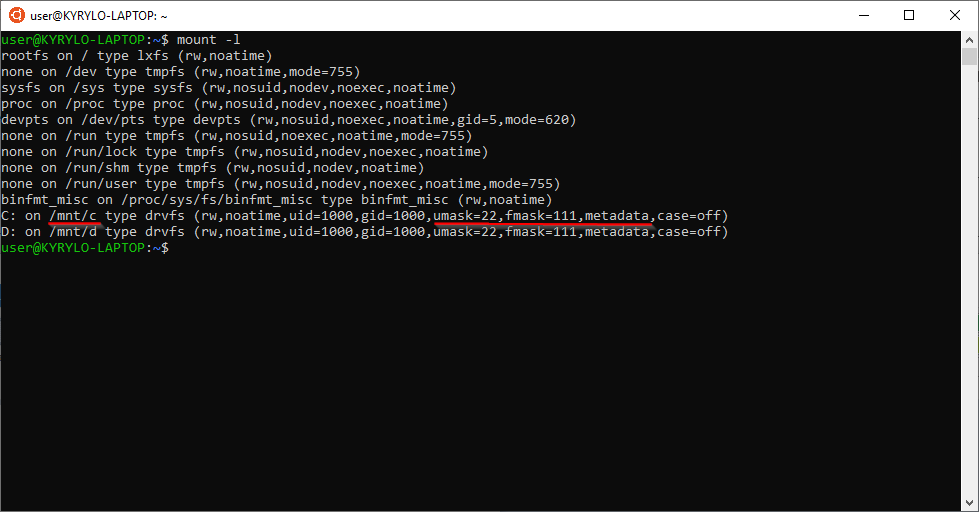
If we look at any mounted file (stat file_name), only read and write permission should be set now:
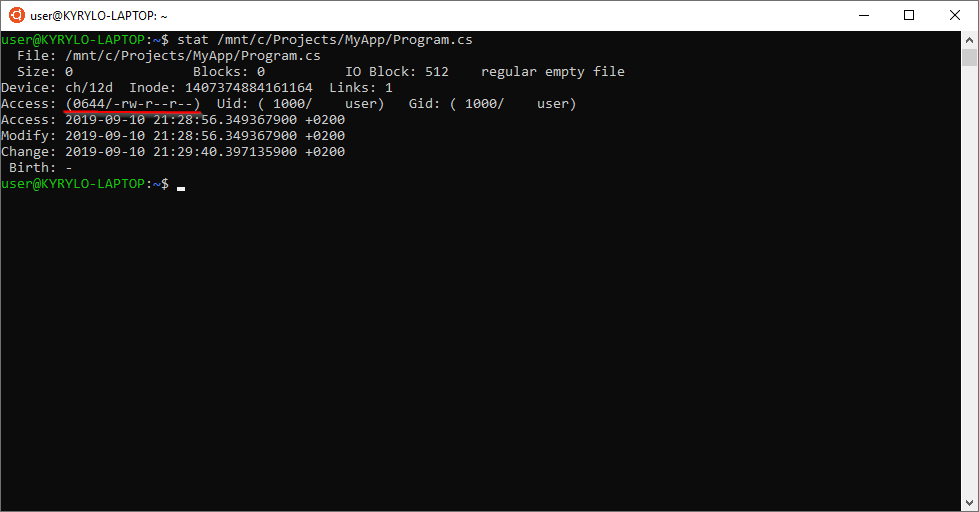
Additionally, it makes sense to mention, that all mounted files are owned by the default user created during the installation. They have the uid=1000 (user ID) and gid=1000 (group ID).
The file's owner also can be changed in the wsl.conf by adding specific IDs to the options. For example:
options = "metadata,uid=1000,gid=1000,umask=22,fmask=111"Installing Ansible
To install the Ansible just run the following commands to add the Ansible repository and install it from there:
sudo apt update
sudo apt install software-properties-common
sudo apt-add-repository --yes --update ppa:ansible/ansible
sudo apt install ansible
By the end, Ansible should be available for execution, that can be verified by checking its version:
ansible --version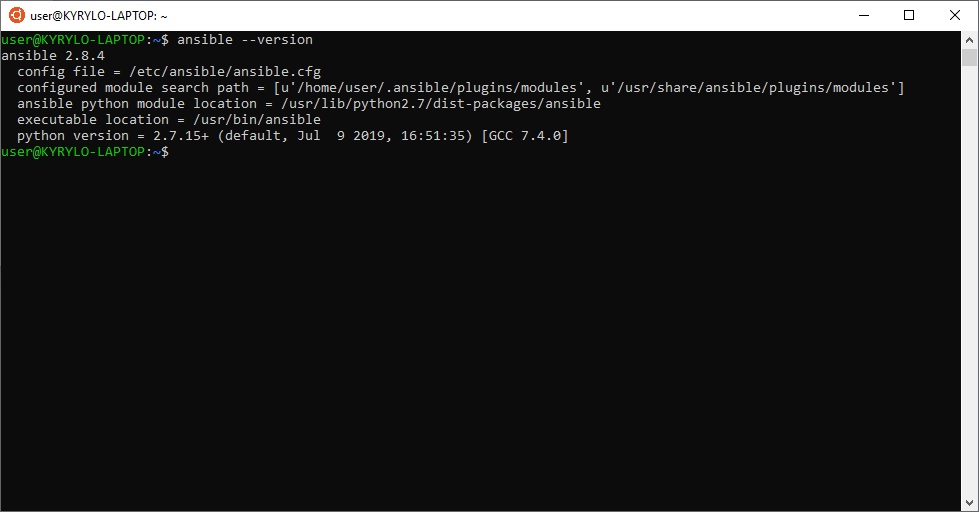
Conclusion
After the described steps, it is possible to use Ansible from Windows, execute playbooks, decrypt vaults, edit decrypted files using any favorite Windows editor, encrypt them back.